
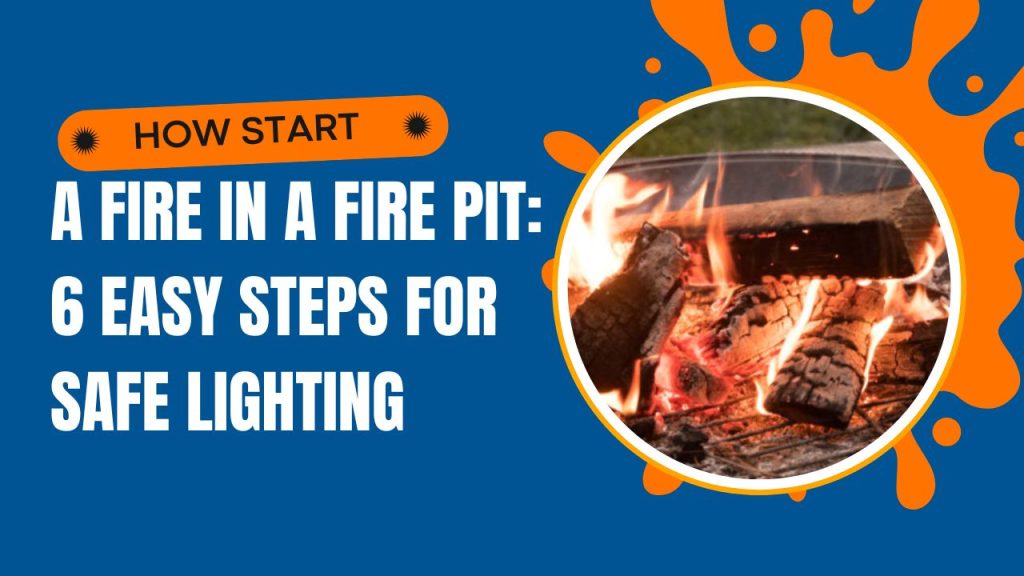
Most failed campfires fail for the same reason, and it is not the matches. People skip straight from tinder to logs, the flame runs out of fuel it can actually consume, and twenty minutes later they are back at the car looking for firelighters. Building a fire is a sequencing problem more than a lighting one.
Building a fire in a fire pit means laying fuel in three graded sizes and giving the flame air at every stage. Tinder goes first, fine and dry enough to catch a flame instantly. Kindling comes next, from matchstick-thin up to pencil thickness, stacked so air moves through it. Fuel wood follows once the kindling is burning confidently, starting at thumb thickness and working up. The lay you choose, teepee or log cabin or upside-down, changes how the fire develops, but none of them work without that size progression and the gaps between pieces that let air reach the flame.
In short: three graded sizes, plenty of air gaps, and patience between each stage.
The National Park Service makes the same point in its guidance, advising campers that fire needs air to grow and not to stack wood in a dense pile, and that splitting wood into thinner pieces to expose more of the interior gets a fire going faster.
Below: how to prepare each stage of fuel, the three lays worth knowing and when each suits, how to light and nurse a fire without smothering it, how to keep it going, and how to extinguish it properly.
Key Takeaways
- Fire needs three graded fuel sizes: tinder, kindling and fuel wood, in that order.
- Air gaps matter as much as the wood. A dense stack smothers its own flame.
- Prepare every stage before you light anything, because hunting for kindling loses the fire.
- A teepee lay builds heat fast; a log cabin burns steadily; upside-down needs least tending.
- Split wood catches far more readily than round wood, because the interior is exposed.
- Blow steadily at the base rather than in short puffs, which scatters embers.
- Extinguish by spreading, drowning, stirring and drowning again until cold to the touch.
What Makes Fire Building Easier
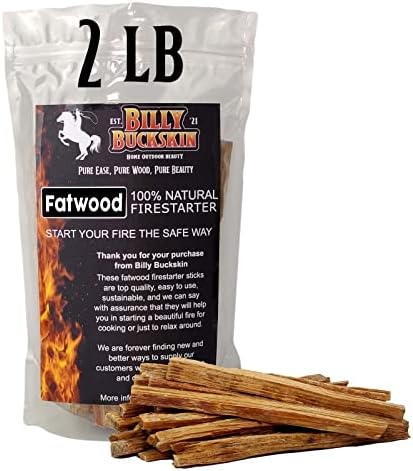
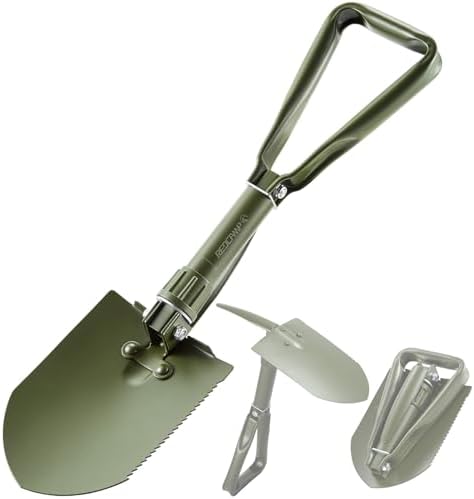
A fire needs containment, a reliable ignition source and something to handle hot wood with. The items below cover those three jobs plus the tinder that removes most of the difficulty from a damp evening.
Fatwood and wax-based starters are not cheating. They burn long enough to dry marginal kindling, which is exactly the situation where most fires fail.




The Three Stages of Fuel
Everything about fire building comes back to a simple physical fact: a flame can only ignite material it can heat to ignition temperature quickly. A match flame can heat a hair-fine fibre in an instant and a thumb-thick stick essentially never, which is why the progression through sizes is not optional.
Tinder is anything fine, dry and fibrous enough to catch from a flame or a spark. Dry grass, shredded inner bark, pine needle duff, fatwood shavings, cotton wool with petroleum jelly, or a commercial starter cube all qualify. The test is whether it looks closer to hair than to twigs.
Kindling spans matchstick thickness up to about pencil thickness, and it is the stage people consistently underbuild. You want a generous armful, not a handful, because kindling burns fast and the gap between kindling running out and fuel wood catching is where most fires die.
| Stage | Size | Burns for | Its job |
|---|---|---|---|
| Tinder | Hair-fine to thread thickness | Seconds | Catches the flame or spark |
| Fine kindling | Matchstick to pencil lead | A minute or two | Turns a flame into a small fire |
| Kindling | Pencil to finger thickness | Several minutes | Builds enough heat for real wood |
| Small fuel wood | Thumb to wrist thickness | Ten to twenty minutes | Establishes a sustaining fire |
| Fuel wood | Wrist thickness and up | Much longer | Keeps it going and makes coals |
Three Lays and When Each Works
The lay is how you arrange the wood, and it determines how the fire develops. All three worth knowing serve the same airflow principle differently, and none of them rescue poorly prepared fuel.
The teepee leans kindling into a cone around the tinder. Flame rises naturally into the apex, which concentrates heat and builds a fire quickly. It is the best choice for getting going fast or with slightly damp wood, and its weakness is that it eventually collapses, which usually matters less than people fear.
The log cabin stacks pairs of pieces in alternating directions around the tinder, forming a square chimney. It is stable, burns steadily, and produces coals well, which makes it the better choice for cooking or for a fire you want to sit around for hours rather than one you need lit urgently.
The upside-down fire inverts the usual logic: largest wood on the bottom, then progressively smaller layers, with tinder on top. It burns downward, needs almost no tending once established, and produces little smoke. It takes longer to get going and is the most satisfying to get right.
| Lay | Best for | Strength | Weakness |
|---|---|---|---|
| Teepee | Getting a fire going fast | Concentrates heat at the apex | Collapses as it burns |
| Log cabin | Long evenings and cooking | Stable, steady, good coal bed | Slower to reach full burn |
| Upside-down | Low-maintenance fires | Burns for a long time untended | Slowest to establish |
| Lean-to | Windy conditions | Shelters the tinder from wind | Less airflow, needs good kindling |
Lighting and Nursing It
The first two minutes decide most fires, and almost all of the failures in that window are caused by impatience. Adding wood too early smothers the flame; blowing too hard scatters the structure; and lighting from the wrong side pushes flame away from the fuel.
- Check the rules and clear the area. Confirm fires are permitted and no restrictions are in force, then sweep leaves and debris back from the ring and check for branches overhead.
- Prepare all three fuel stages first. Gather tinder, a generous armful of kindling from matchstick to pencil thickness, and split fuel wood. Sort it into piles before you light anything.
- Split your fuel wood. Split rounds into halves and quarters. Exposed interior catches far more readily than bark, and thinner pieces reach ignition temperature faster.
- Build a tinder bundle in the centre. Make a loose nest of fine dry material in the middle of the pit, with air gaps running through it rather than packed into a ball.
- Lay kindling over it with gaps. Arrange thin kindling around and over the tinder in your chosen lay, leaving space between every piece. Start with the thinnest and work up.
- Light at the base, upwind side. Light the tinder from the side the wind is coming from, so the flame is pushed into the rest of the structure rather than away from it.
- Blow steadily at the base. Use long, slow breaths directed at the base of the flame. Short puffs scatter embers and dislodge the structure you just built.
- Add fuel gradually as it establishes. Work up through the sizes, adding wood only when the current stage is burning confidently. Keep gaps so air can still reach the flame.
Blowing works because you are supplying oxygen to a fire that is briefly consuming it faster than convection can replace it. Long steady breaths at the base do this without disturbing anything. If the fire visibly brightens as you blow and fades as you stop, it needs more air rather than more wood.
If your lighter is soaked or empty, the ignition problem has its own solutions: see lighting a fire without matches.
Keeping It Going Without Choking It
Once established, the main risk shifts from the fire dying to the fire being smothered. Enthusiastic feeding is the usual culprit: wood piled on in quantity blocks airflow, drops the temperature, and produces a lot of smoke and very little flame.
Add one or two pieces at a time and place them rather than throwing them. Laying wood across the existing fire with a gap underneath keeps air moving; dropping it on top compresses the burning material and chokes it.
Keep the fire small deliberately. A small fire is easier to control, radiates less heat toward tents and gear, throws fewer embers and is far quicker to put out. Most people build fires considerably larger than anything they actually need.
Wood Selection and Preparation
Dry wood is the single biggest variable, and seasoned wood that has dried for a year or more outperforms anything cut recently. Wet or green wood spends the fire energy boiling off water instead of producing heat, which is why it smokes heavily and burns poorly.
Splitting matters more than people expect. Bark is relatively fire resistant and the interior of a log is both drier and more readily ignited, so splitting rounds into halves and quarters exposes the surface that actually catches. It also creates more surface area relative to volume.
Where firewood comes from matters too. Moving firewood long distances transports insects and disease into new areas, which is why many parks require wood to be bought locally or collected on site where permitted. Check the local rule rather than bringing a load from home.
Do
- Prepare tinder, kindling and fuel wood before lighting anything
- Split fuel wood to expose the drier interior
- Leave air gaps between every piece you add
- Buy or collect firewood locally where rules require it
- Keep the fire small and contained within the ring
- Keep water within arm reach for the whole burn
Don’t
- Do not skip straight from tinder to full-size logs
- Do not pile wood densely, which smothers the flame
- Do not use gasoline or any accelerant other than permitted lighter fluid
- Do not squirt lighter fluid onto embers or an open flame
- Do not burn plastics, cans or bottles
- Do not leave the fire unattended, even briefly
Putting It Out Properly
Extinguishing is the stage people rush, and it is the one that causes escaped fires. A fire with no visible flame is not out. Whitish gray coals retain heat for hours and will flare up if wind reaches them, which is exactly what happens after everyone has gone to bed.
The method is spread, drown, stir, drown again. Spreading the coals exposes them so water reaches everything rather than running off a pile. Stirring brings buried hot material to the surface. Then more water, and repeat until there is no steam and no heat.
The final check is tactile. Hold the back of your hand near the ashes. If you feel warmth at all, it is not out and needs more water. Only leave when the ashes are genuinely cold to the touch, and start the process earlier than you think you need to.
If you are building the pit itself rather than just the fire, see how to build a stone fire pit, and for why clearances matter, how campfire heat spreads to nearby wood.
Honest Limits
Fire building is a skill that improves with practice, and reading about it is a poor substitute for doing it in a garden on a damp evening. The sequence described here is reliable, but judging when kindling is burning confidently enough for the next stage comes from experience rather than instruction.
Conditions change the answer too. Wood species, moisture content, altitude, wind and humidity all affect how readily a fire establishes, which is why the same technique produces different results on different trips. Damp conditions in particular demand far more kindling than you expect.
Local rules override everything here. Fire restrictions, bans, permitted fire sizes and rules on collecting or transporting firewood vary by location and change with conditions, and nothing in this article is a substitute for checking what applies where you are.
Stay Safe Out There
Check current fire restrictions before planning a fire at all. They tighten quickly in dry spells, and a fire that was legal when you booked may be prohibited by the time you arrive. Posted restrictions and ranger instructions take precedence over anything written here.
Keep tents, gear and spare firewood well back and upwind. The National Park Service advises at least 15 feet of clearance from the fire pit, and it also warns that synthetic clothing melts when hot, which is why sparks on a fleece jacket ruin it rather than merely marking it.
For burns, cool with clean running water rather than ice, cover loosely, and seek medical help for anything beyond a small superficial burn, for burns on the hands, face or joints, and for any burn on a child. If a fire escapes beyond what a bucket can handle, note your location, move away upwind and call 911.
Detailed guidance on building, feeding and extinguishing campfires is published by the National Park Service, including the clearance figure and the warning that gray coals hold heat for hours.
Disclaimer: this article is general outdoor information, not safety or fire-prevention advice. Conditions and local rules vary, and you are responsible for any fire you light. Check local restrictions, ask a ranger when you are unsure, and seek professional medical help for any burn that concerns you.
Frequently Asked Questions
How do I build a fire in a fire pit?
Lay fuel in three graded sizes with air gaps throughout. Tinder in the centre, fine kindling over it in a teepee or log cabin, then progressively larger wood as each stage burns confidently. Prepare everything before lighting.
Why does my campfire keep going out?
Almost always a sizing or sequencing problem. Either the jump from tinder to large wood is too big, or the wood is packed too densely for air to move through it. Add more kindling and more gaps.
What is the best fire lay?
Teepee to get going quickly, log cabin for a steady fire and good coals, upside-down for a fire that needs little tending. All three depend on graded fuel sizes and airflow rather than on the shape itself.
How much kindling do I need?
Considerably more than most people gather, ideally a generous armful spanning matchstick to pencil thickness. Kindling burns fast, and running out before the fuel wood catches is the most common point of failure.
Should I split my firewood?
Yes. Bark resists fire, while the split interior is drier and catches far more readily. Splitting also increases surface area relative to volume, which helps the wood reach ignition temperature faster.
Why is my fire smoking so much?
Usually damp wood, which spends energy boiling off water instead of burning, or a fire choked with too much fuel and not enough air. Use seasoned wood, add less at a time, and keep gaps between pieces.
Can I use lighter fluid?
Only where it is permitted, applied before lighting, and never squirted onto embers or an existing flame. Never use gasoline or similar accelerants, because the vapour ignites explosively and can travel back to the container.
How do I get a good bed of coals for cooking?
Let fuel wood burn down rather than constantly adding fresh wood. Coals form as wood burns through, so a fire that is continuously fed never develops a bed. A log cabin lay produces them more reliably than a teepee.
How do I put a fire out properly?
Spread the coals, pour water slowly over everything, stir the ashes to expose buried hot material, then pour again. Repeat until there is no steam and the ashes are cold to the touch when you hold a hand near them.
Can I bring firewood from home?
Often not. Moving firewood long distances transports pests and disease into new areas, and many parks require wood to be bought locally or collected on site where that is permitted. Check the local rule before loading the car.
The Bottom Line
A fire in a pit is a sequencing exercise. Tinder fine enough to catch instantly, a generous armful of kindling from matchstick to pencil thickness, then fuel wood added gradually as each stage burns confidently, with air gaps all the way through. Prepare all three before you strike anything, because the fire will not wait while you go looking for more kindling.
Choose the lay for the job rather than for tradition: teepee to get going fast, log cabin for a steady evening and good coals, upside-down when you would rather not keep tending it. Split your wood to expose the dry interior, add less than you want to, and keep it small. Then put it out properly, spread, drown, stir, drown again, and leave only ashes cold enough to touch.